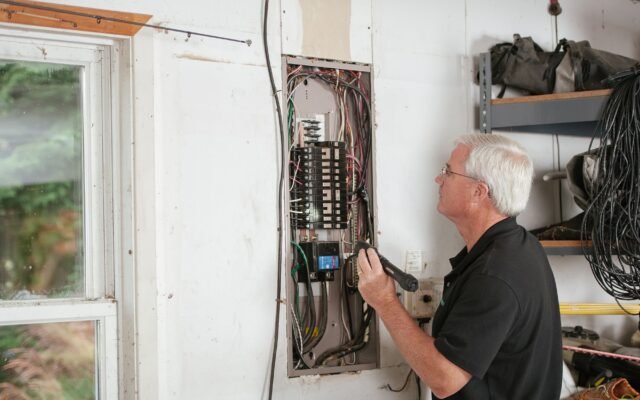

Radon testing at home is one of the simplest and most important indoor air quality checks you can do. Radon is a naturally occurring radioactive gas that comes from uranium in soil and rock. It’s invisible and odorless, it can seep into any home through the foundation, and long-term exposure is a leading cause of lung cancer. The only way to know your radon levels is to test.
Testing is inexpensive, takes a few days, and can be done yourself. This guide covers seven simple steps, the difference between short-term and long-term tests, and what your results mean.
Key takeaways
- The EPA recommends fixing your home if radon is 4 pCi/L or higher, and considering a fix between 2 and 4 pCi/L.
- Short-term tests take 2 to 90 days; long-term tests take more than 90 days and give a better year-round average.
- Test in the lowest lived-in level of the home, away from drafts, doors and windows.
- Any home can have high radon, including new homes and homes without basements.
In this guide
Why test for radon?
Radon gas moves up through soil and enters homes through cracks in foundations, gaps around pipes, sump pits and crawlspaces. Because homes are often at slightly lower pressure than the soil around them, especially in winter, they can draw radon in. Levels vary widely, even between neighboring houses, so a neighbor’s result doesn’t tell you yours.
There’s no known safe level of radon exposure; the lower the level, the lower the risk. The CDC and EPA recommend testing every home. See the CDC’s guidance on radon testing.
Short-term vs long-term radon tests
| Short-term test | Long-term test | |
|---|---|---|
| Duration | 2 – 90 days (often 2 – 7) | More than 90 days |
| Type | Charcoal canister, electret, digital | Alpha-track, electret, digital |
| Result | Snapshot | Better year-round average |
| Best for | Quick screening, real estate | Deciding on mitigation |
| Typical cost | $15 – $40 for a kit | $25 – $60 for a kit |
Continuous digital radon monitors are another option. They display ongoing readings and can be used for both short and long-term testing. They’re useful for tracking changes after mitigation.
Radon testing at home: 7 simple steps
1. Choose your test
Buy a test kit from a hardware store, your state radon program, or online. Many states offer discounted or free kits. A short-term charcoal test is a good first step.
2. Close the house for short-term tests
For short-term tests of less than four days, keep windows and outside doors closed as much as possible for 12 hours before and during the test, except for normal coming and going. Don’t run fans that bring in outside air, such as whole-house fans.
3. Pick the right spot
Place the test in the lowest level of the home that’s used or could be used as living space, such as a finished basement or the first floor. Avoid kitchens, bathrooms, laundry rooms and closets.
4. Place it correctly
- At least 20 inches above the floor.
- Away from drafts, heat sources, windows, doors and exterior walls.
- Where it won’t be disturbed.
5. Record the details
Write down the start date and time, and the location, on the test form.
6. Send it to the lab promptly
At the end of the test period, seal the kit and mail it to the lab right away. Delays can affect results.
7. Read your results
Results are reported in picocuries per liter (pCi/L). See the next section for what they mean.
What your radon levels mean
| Result | What the EPA and CDC suggest |
|---|---|
| Below 2 pCi/L | No action needed; consider retesting in the future |
| 2 – 4 pCi/L | Consider fixing your home |
| 4 pCi/L or higher | Fix your home |
If a short-term result is 4 pCi/L or higher, the EPA suggests a follow-up test to confirm before fixing. If the first short-term result is more than twice the 4 pCi/L action level, take a second short-term test immediately. If it’s close to 4, a long-term test gives a better picture.
How radon is fixed
The most common fix is a sub-slab depressurization system: a pipe through the floor connected to a fan that draws radon from beneath the foundation and vents it above the roofline. Sealing cracks helps but isn’t enough on its own. Mitigation should be done by a certified contractor, and costs vary by home, often around $800 to $2,500. Retest after installation.
Radon and your HVAC system
Your heating and cooling system doesn’t remove radon. Some homes see higher radon when exhaust fans or a leaky return system depressurize the basement. Sealing return ducts and the air handler can help reduce pressure differences. See sealing return air ducts.
When to retest
- After mitigation.
- After major renovations, especially to the foundation or basement.
- If you start using a lower level of the home.
- Every couple of years, as a check.
For a broader plan, see our main guide, how to improve indoor air quality, and indoor air quality monitor.
Radon testing at home FAQ
Is radon testing at home accurate?
Yes, when you follow the instructions and mail the kit promptly. Long-term tests give the most accurate average.
Where should I place a radon test?
In the lowest lived-in level, at least 20 inches above the floor, away from drafts, windows and doors.
Do new homes need a radon test?
Yes. Any home can have high radon.
How often should I test for radon?
Every few years, and after renovations or mitigation.
What is a safe radon level?
There’s no known safe level. The EPA recommends fixing at 4 pCi/L or higher and considering it between 2 and 4.